Thursday, November 29, 2012


Made it through Thanksgiving and now getting ready for the Christmas holidays!  The fun is just beginning.  I have, however, been busy since October working on Christmas wall hangings, potholders, candle mats, table runners, ornaments, coasters, etc.  In other words, I’ve been sewing my behind off!

 I did want to mention that we are in the middle of a drought in the part of the South that I live in.  We have a little pond in our backyard which is practically drying up.  The sad thing is that we have quite a few catfish that are extremely large and I’m worried about what they are going to do.  They are my pets and I feed them everyday in the spring and summer.  The last drought we had they must have buried themselves in the mud and that is probably what they are doing this time. 

 This picture was taken a week ago. . . .
 

 And this picture was taken today . . .
 

 Just pray for some rain, please!

One of the many go-to projects that I do for quick gifts are coasters.  These coasters are fast, quick, and super cute and functional!  I first heard about these coasters from our local quilt shop at the time.  I didn’t sew much then and they looked so complicated that I almost didn’t try them.  One of the owners showed me in steps how easy they were and I bet I’ve made 30 sets since then.  They make a wonderful hostess gift, teacher gift, or just to give to someone that is special to you.  And especially make several sets for yourself.  They wash up beautifully and work great keeping “rings” off of your furniture.

I’m not sure exactly who came up with this idea but I have seen several on the internet each with different names.  My personal favorite is the Criss Cross Coasters.  Now get out some scraps or a charm pack and let’s get started.

 COASTERS

Materials:  5” squares or charms from your charm pack

To make a set of four, you will need 16 squares.

Muslin cut into 5” squares and for a set of 4 you will need 8.

4 pieces of batting cut to 5” squares

Sewing machine, thread to match (or not), and the usual sewing supplies.

 HERE GOES . . .

Begin by taking your 5” squares from your charm pack or scraps and press in half. 

Next layer in this order

1)    Muslin square

2)   Batting square

3)   Muslin square

4)   And now your 4 squares of fabric that you have pressed in half illustrated below.

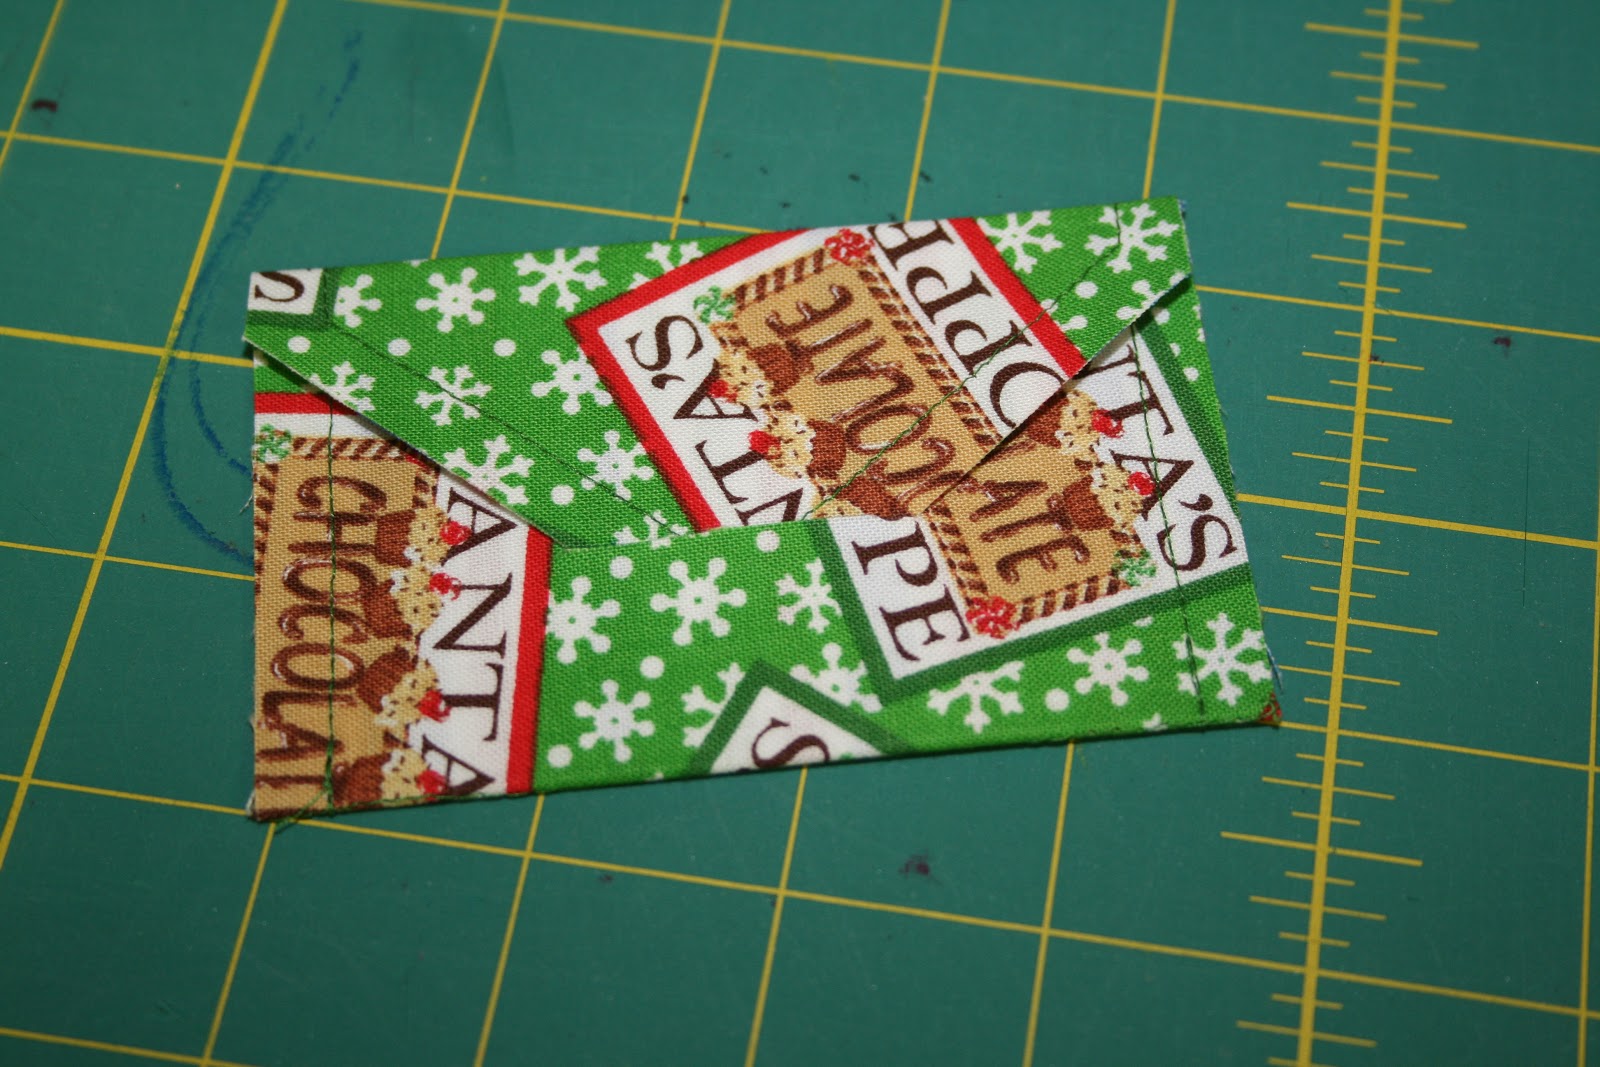
This is the fun part. . .if you used a charm pack you know that all sides have pinked edges. . .lay your pressed rectangles with the raw (pinked) edges facing out.  The best way to do this is to lay top and bottom rectangles on your muslin base and then lifting top right hand corner lay another rectangle and then raising the bottom left rectangle place your last rectangle. . .this is why they call this the criss cross coasters.  Look at the pictures below to get a better idea.


Now sew around the outside edges of this “sandwich” using a ¼” seam.  DO NOT LEAVE AN OPENING FOR TURNING!  
 
Clip the corners and I usually trim a little off around the edges to control some of the bulk and turn inside out.  
 
Looking at the picture below,  you will see that you will turn your coaster beginning from the center out. . .this looks confusing and wrong, but trust me it will work out.  Keep on till you have the entire coaster turned out and using a pointed object such as a knitting needle or bone folder (which I always use as the point is a little blunt) push your points out gently. 


My trusty bone folder . . .
 
 
PRESS with steam and using your bone folder gently push on your corners a little more.  Press again.

Now repeat 3 (or as many as you want in your set) more times and you have a neat little hand-made gift for someone special.  You can use raffia, ribbon, or my personal favorite twine to tie them together with a little card and you are good to go.  These are great to assembly-line make and I promise it doesn’t take long at all.


Now you can decide if you want to quilt your finished coasters or not. . . here is a sample of the quilted coaster. . .


FINISHED . . .
 

These can be customized to match the décor, holiday, season, or can be just plain scrappy!  You can enlarge your square to 10” and when finished you will have a candle mat, hot pad, or a small table decoration.  Your imagination is the limit.  Oh, yes, you can even make them round. . .after you have made your sandwich draw a circle and cut out.  You will turn it out just the same and instead of square, you will have a circle coaster.
Have fun and see you back here next time with another quick project.


“The heart of the giver makes the gift dear and precious.”

--Martin Luther

Monday, November 12, 2012


Hi everybody!  Christmas is going to be here before we know it.  I don’t know about you, but I love to make small gifts for my friends and while looking through this month’s Quilter’s World December 2012, I found just the right project.  This project is quick, easy, and festive!


A Gift-Card Holder 
 

The designer is Carolyn S.. Vagts for The Village Pattern Company.  She did a great job of writing this pattern and I know you will find it easy to follow.  I will share with you how I made these and you can see by the pictures just how easy they were.  It takes very little in the way of materials. . .you need fabric (2-5 x 9” pieces), fusible web, thread, 5 x 9 piece of freezer paper, and of course your basic sewing tools.

I chose two fabrics, one for the exterior and one for the lining.  You could, however, just use the same fabric for both.  I made 6 of these in about an hour. 

First you fuse your fabrics wrong sides together.  Then make a copy of the Holder Pattern that is included onto freezer paper. Iron the freezer paper onto your fabric and cut out.  You can reuse this freezer paper several times which is great! 


After you have cut out your Card Holder you will make a slit in the fabric where indicated on the freezer paper.  I used my rotary cutter to do this.  REMOVE freezer paper!

I

Then you will fold up the card holder on No. 1 Fold Line and sew around the holder as indicated on the pattern.  After you have sewn around the holder, fold down the top and slide into the slit and you have your Gift-Card Holder.  QUICK, EASY, AND SUPER CUTE!I


These can be used for all sorts of things, love notes, business cards, favorite pictures, etc.  Just change up your fabric and have FUN!
 
 
Oh, I thought you might want to see the lining.  I like using two coordinating fabrics.
 
There are also other projects in this magazine that look promising! Check it out!
 
Just have fun and remember to create everyday!!!
 

Sunday, November 4, 2012


I’m back!!!  I think I now have my computer issues (virus) resolved and time to begin again with my blogging.

I haven’t blogged since the election in July…busy, regrouping, grandchildren, you name it.  I guess, you could say that I needed to get it back together after such a long, hot summer!  I really missed the creating and sewing everyday and when I finally got back to it, well, I just went a little nuts! 

The first big day for our family after July was Emily’s 9th birthday and Lisa’s ___th birthday.  We always celebrate those two together since one is the 21st and the other is the 22nd.  I will have to mention that our youngest grandchild had her birthday on August 1st, turning 6, and her daddy our youngest son, had his birthday on August 8th.  Somehow the pictures for those events are lost somewhere in computerland.  I do, however, have some of Emily and Lisa.


AND THESE ARE ALL MY GIRLS EXCEPT FOR ASHLEY AND TIFFANY WHO COULDN'T COME . . .
 
 
I love Halloween and decorating for this spooky holiday and I thought I would share some of my Halloween projects with you.  I know, Halloween’s over, but I’ll show them anyway.

These are some Trick or Treat bags that I found the pattern for in one of my magazines.  I made four cat bags for the girls and a Frankenstein bag for Avery.


I made the Halloween pumpkin pillow a couple years ago at a class that I took at Dragonfly Quilt Shop and the Haunted Tree Pillow, I found in a magazine featuring Patrick Lose.  Love Patrick Lose's applique! 

 
This is Patrick Lose's design!


This birdhouse was made by my husband and I decorated it for the Halloween birds.


This painted pumpkin was inspired from Alisa Burke’s blog.  Hers are much better!!!


The stuffed pumpkin came from one of my favorite artists, Nancy Halversen.  I will have to say I have all of her books and each and everyone of them are GREAT!


This ticker tape wall hanging I made using Halloween fabric scraps.  I cut a piece of muslin and cut squares and rectangles out of my Halloween fabric scraps.  I then sew them around the edges to the muslin piece with batting on the back.  After I finish sewing the fabric scraps to the muslin, I put a back on and sew it together with the front by sewing between the squares.  I finish off with binding and hanging tabs.  I found a square piece of wood in my husband’s workshop, painted it, and after it was dried, hung up my Halloween Ticker Tape Quilt.  I have since made one for Fall and will make one for Christmas, etc.  FUN!


Also using scraps, I made this Halloween fabric bowl.  I will do a tutorial at a later date on how to make these easy and decorative bowls.


This Halloween ornament is made with a clear glass ornament, small fabric scraps, and Mod Podge (one of my favorite products).  Just glue your scraps onto the glass ornament covering the entire all, and hang on an ornament holder.  I also wired a decorative button to the ornament.  I also made one of these for each of the coming seasons.


Finally, I made an Alisa Burke inspired tablescape.  Cute, HUH?


I think I will stop here with the Halloween projects.  I truly hope all of you had a great holiday and will enjoy the Thanksgiving and Christmas season coming up.  I will say Bye for now leaving you with this quote,

“I am beginning to learn that it is the sweet, simple things

of life which are the real ones after all.”

-Laura Ingalls Wilder